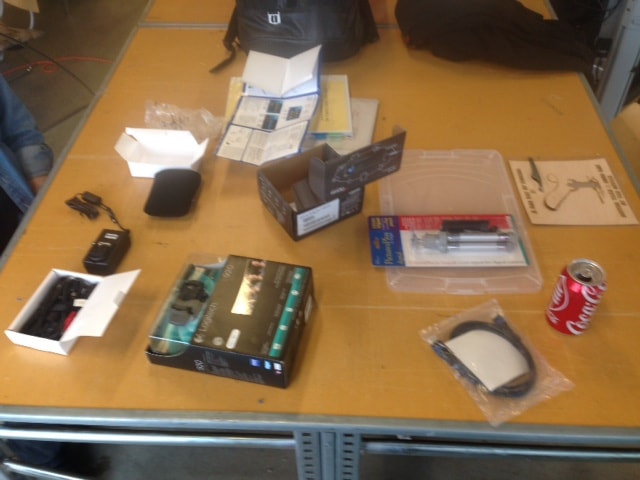
For week 5 I decided that it would be fun to make a structured light scanner for the Fab Lab since we do not currently have one. What we did have was a box labeled "structured light scanner" |
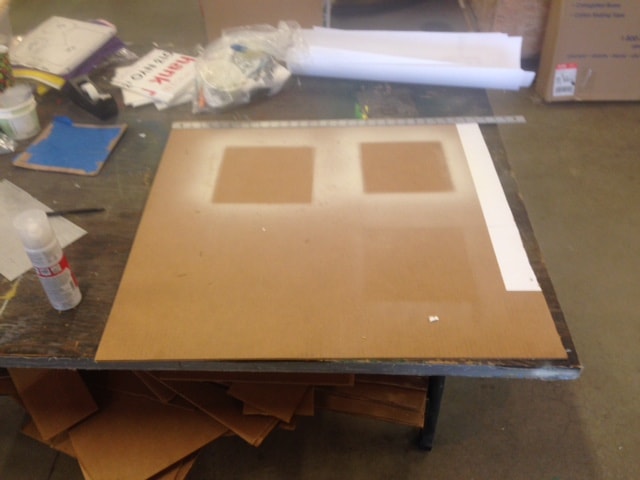
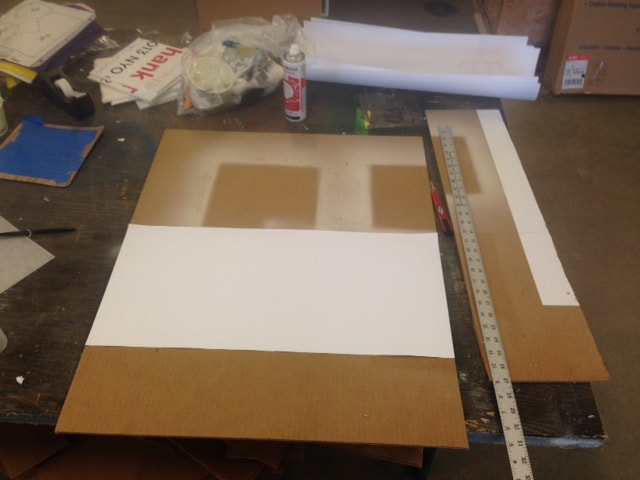
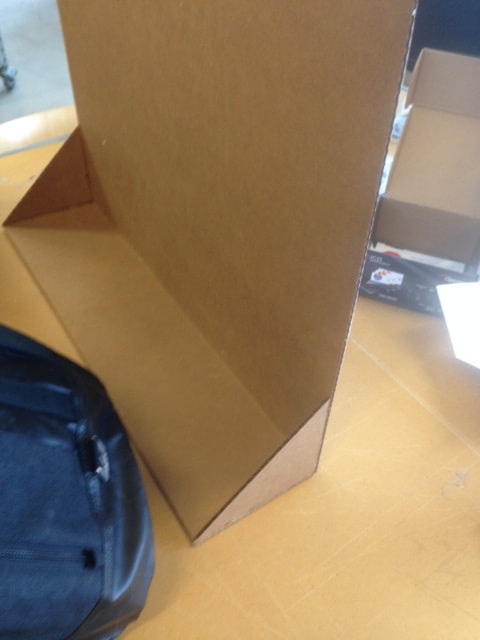
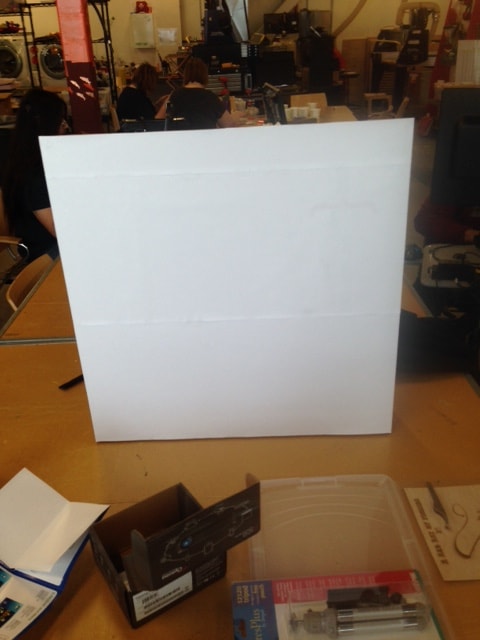
After opening the box I found the following things. A mini Pico Projector, an HD webcam, and a tripod. After opening everything I realized I would need to create a screen of some sort to project on since we do not have a spare here at the Alaska Fab Lab. I used a cardboard square and attached white paper and some supports on the back so it would stand up nicely. |
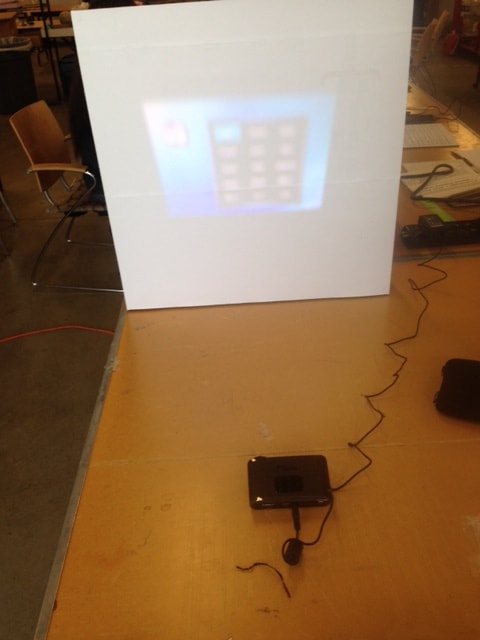
I cleared some space and set up the projector and webcam so that the project was infront of the webcam and projecting onto my newly made screen. Then I set up a computer next to the projector and set up the projector as a second, primary, screen. Note: it has to be the primary screen because when you launch an application and put it into fullscreen mode, which is required in many structured light softwares, it will always display on the primary screen. |
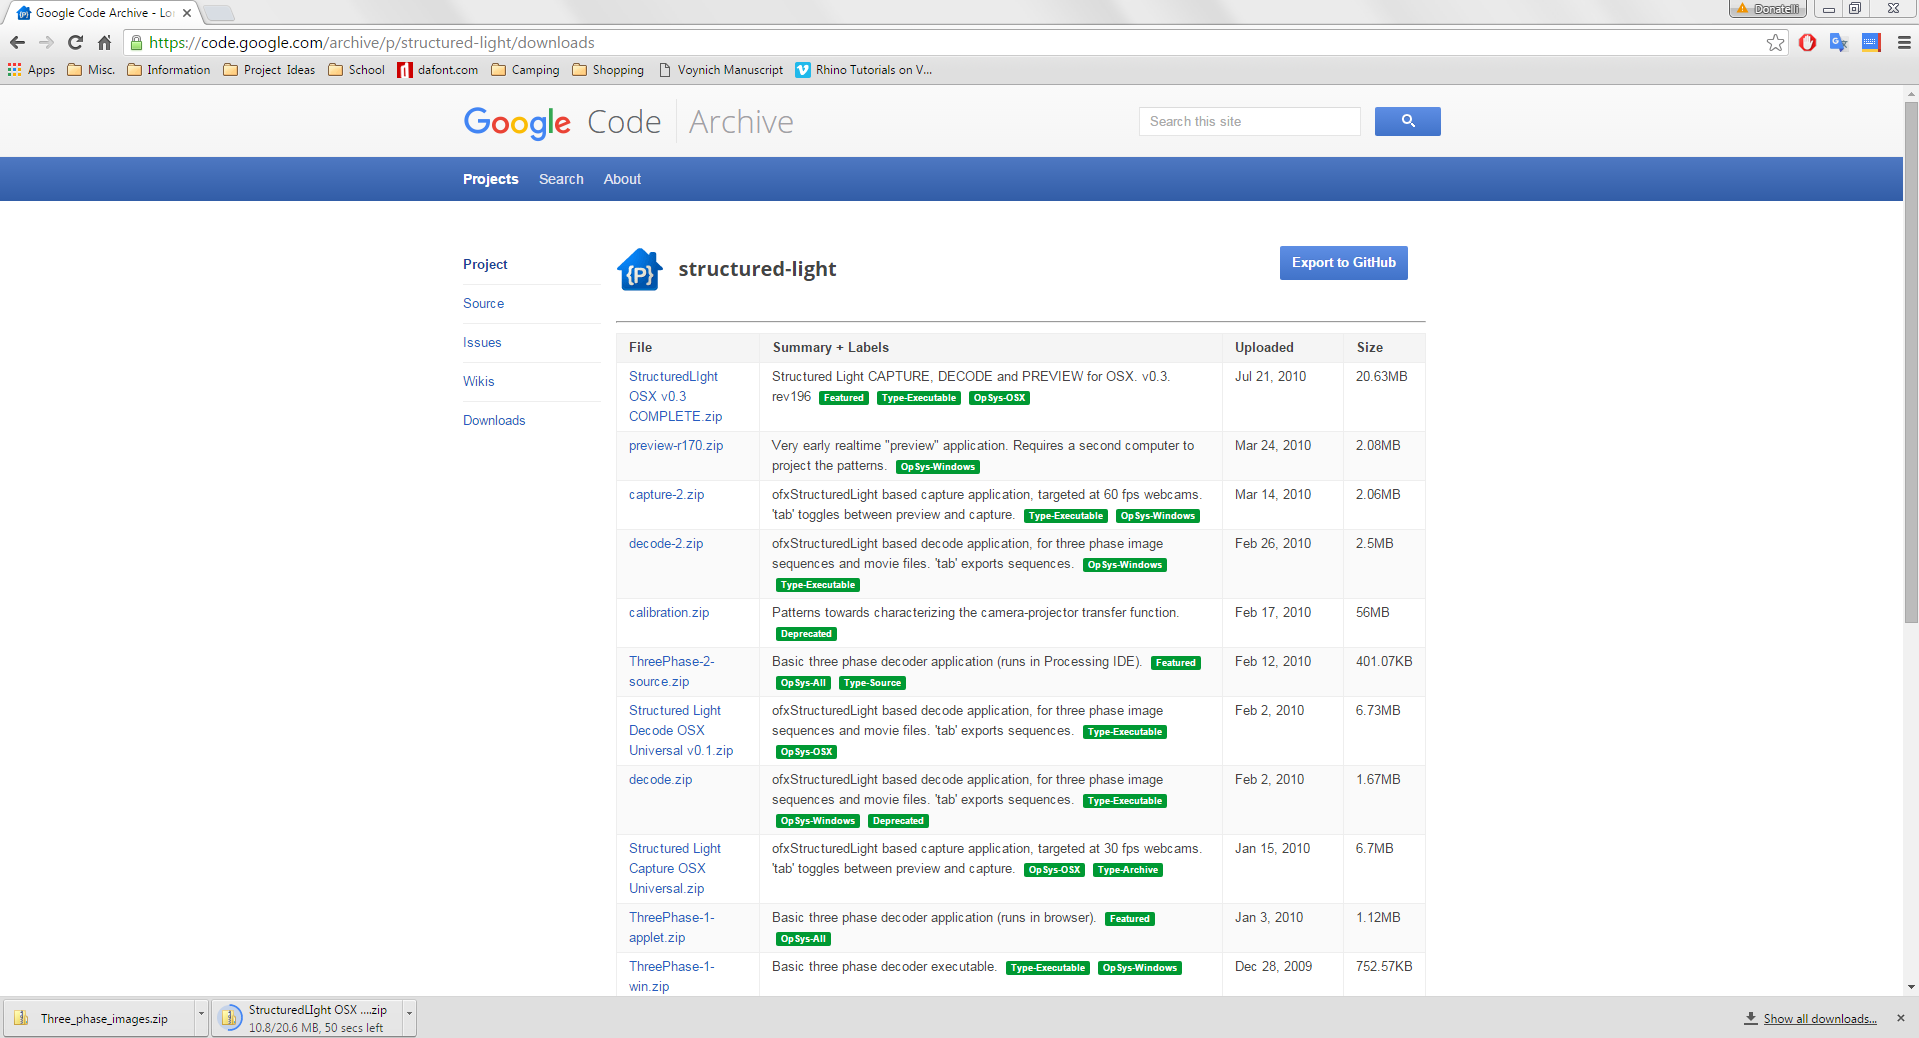
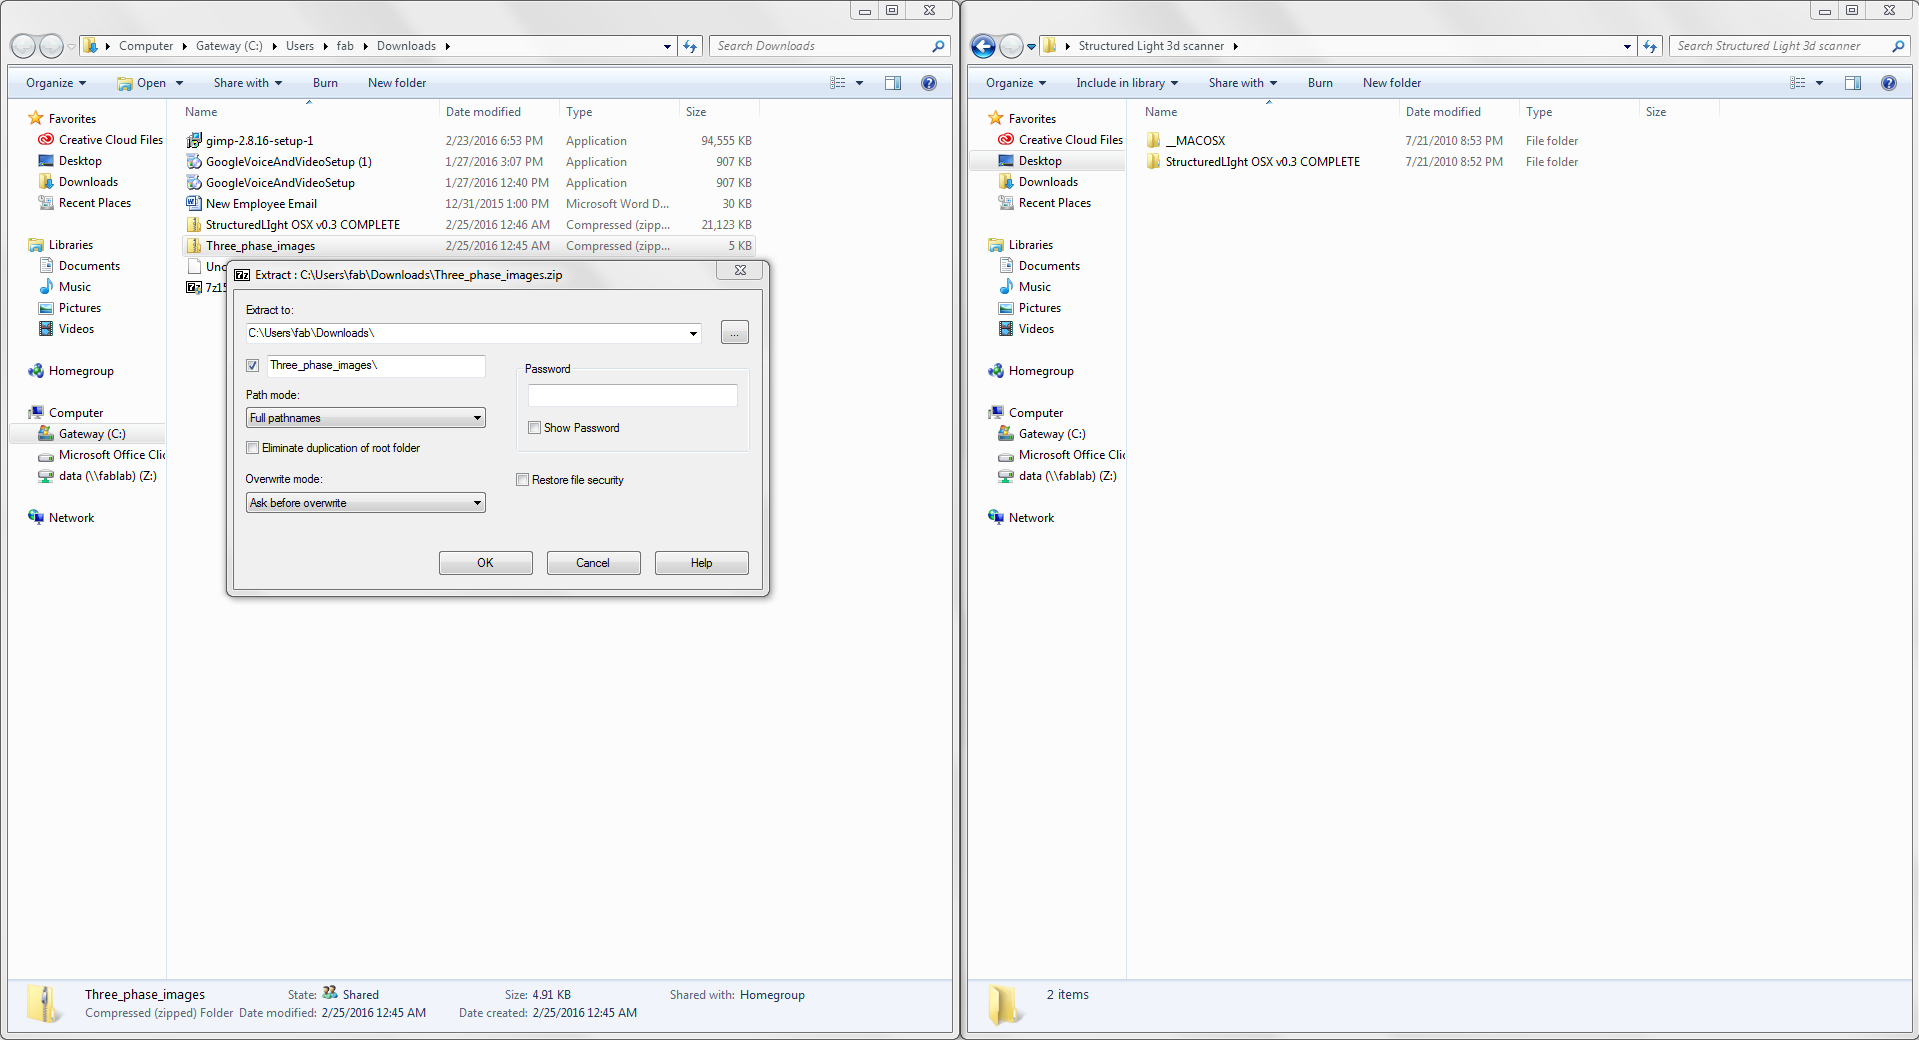
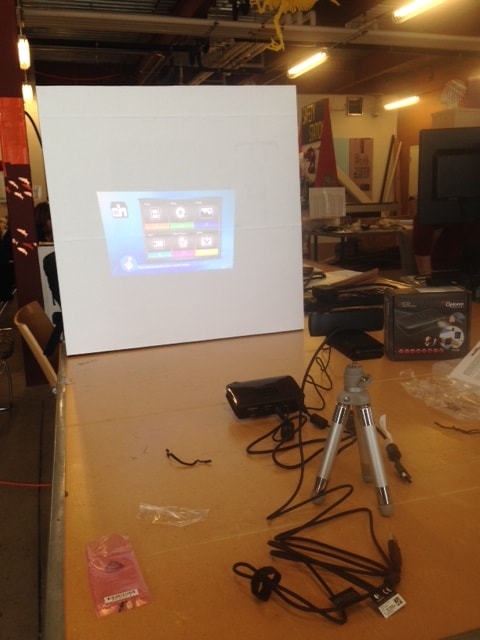
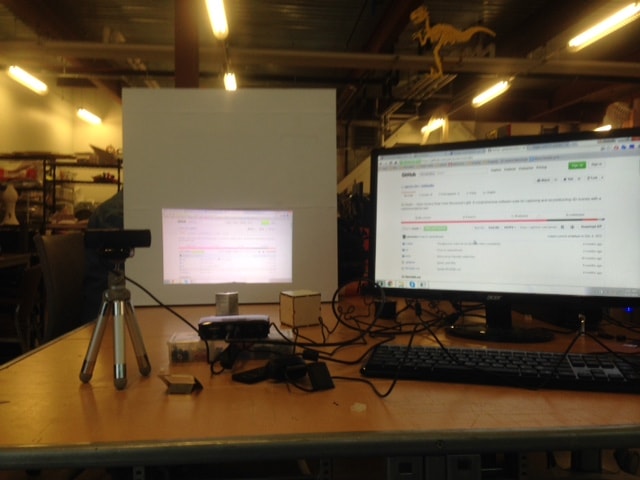
After getting the projector set up I downloaded a structured light software off of Github, unziped the files, and launched the application. |
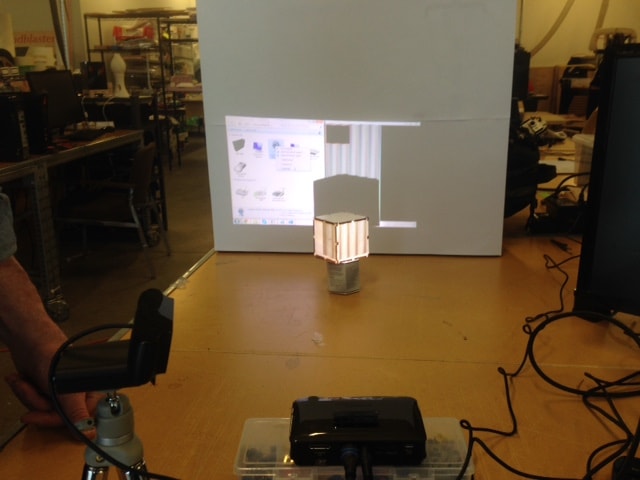
Everything seemed to be working, until I tried to actually take the pictures that would create my 3d model. All of my photos came out as just black images leading me to think that there were no actual pictures being taken. After doing some research I proved myself right, most softwares require a camera linked to the projector via a trigger cable to get precise and accurate photo timing. A web cam only has one usb output and so in most cases it does not work. Since all we have in our Fab Lab are webcams I was not able to actually scan something, but everything is set up for when we get a camera in the future. |
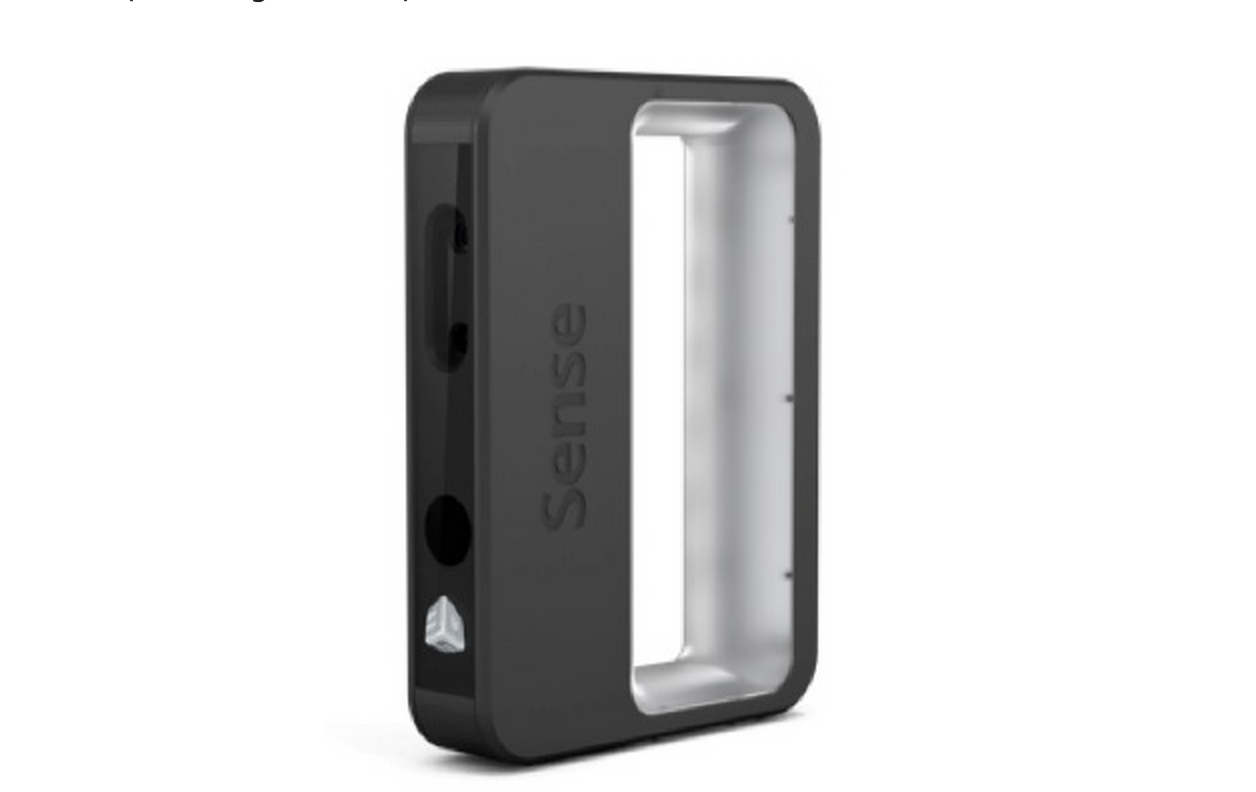
After the structured light scanner I decided to scan myself using a simplified tool, the Sense 3d scanner. The tools has a simple, easy to use interface and produces relatively high quality quick scans. |
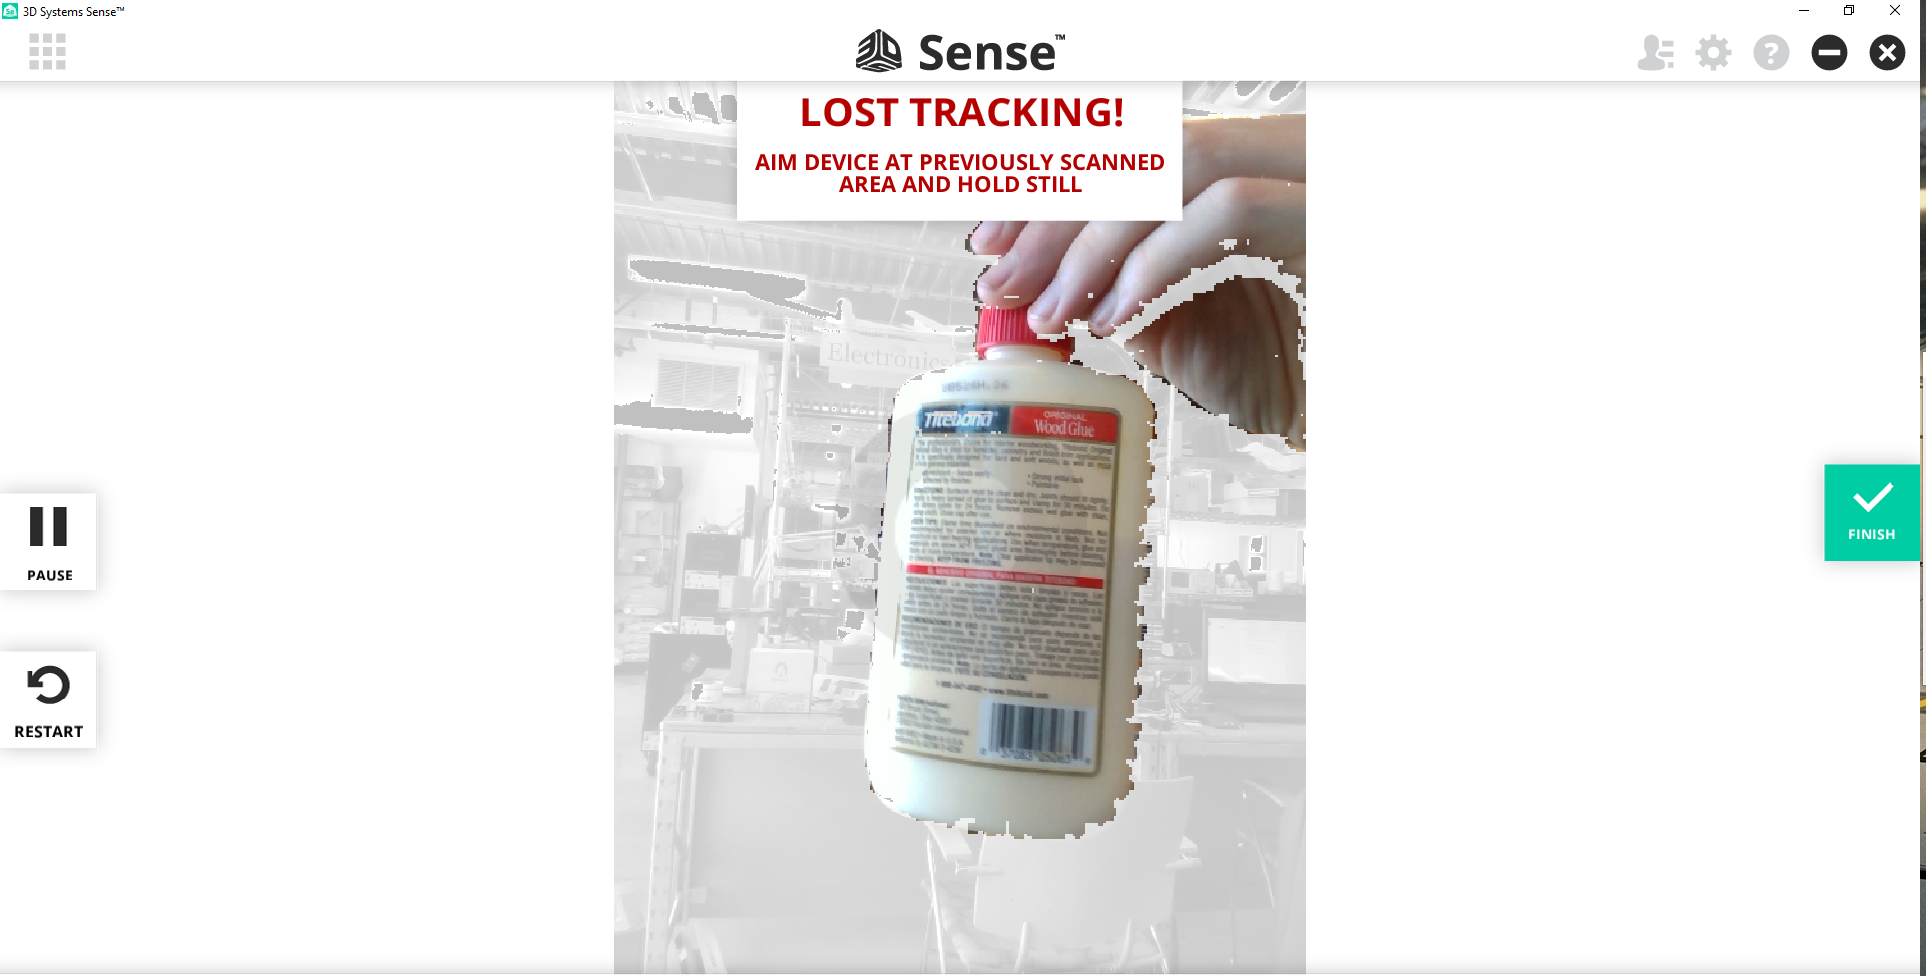
The scanning process is simply. Simply set up the scanner on a tripod or desk and put the object you wish to scan a foot or two away to it becomes highlighted in the scanner window. Then spin the object you are scanning in my case a bottle of glue and then myself 360 degrees slowing. |
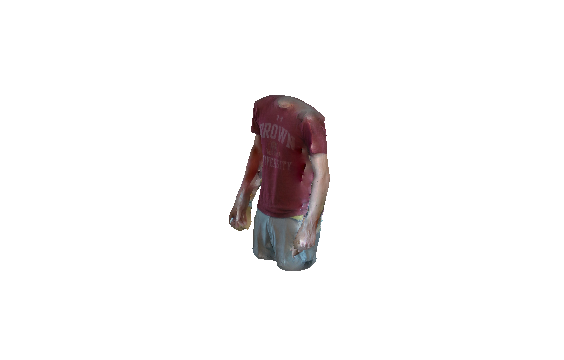
When you click finish the program will automatically generate your 3d scan and you can have the software save the model so you can 3d print your scan. Overall I found the scanner does a good job, allthough the scans are not very accurate. The scanner seems to work best for people, and to do objects with any degree of percision you must have a turntable of some sort to help you smoothly rotate your object. |
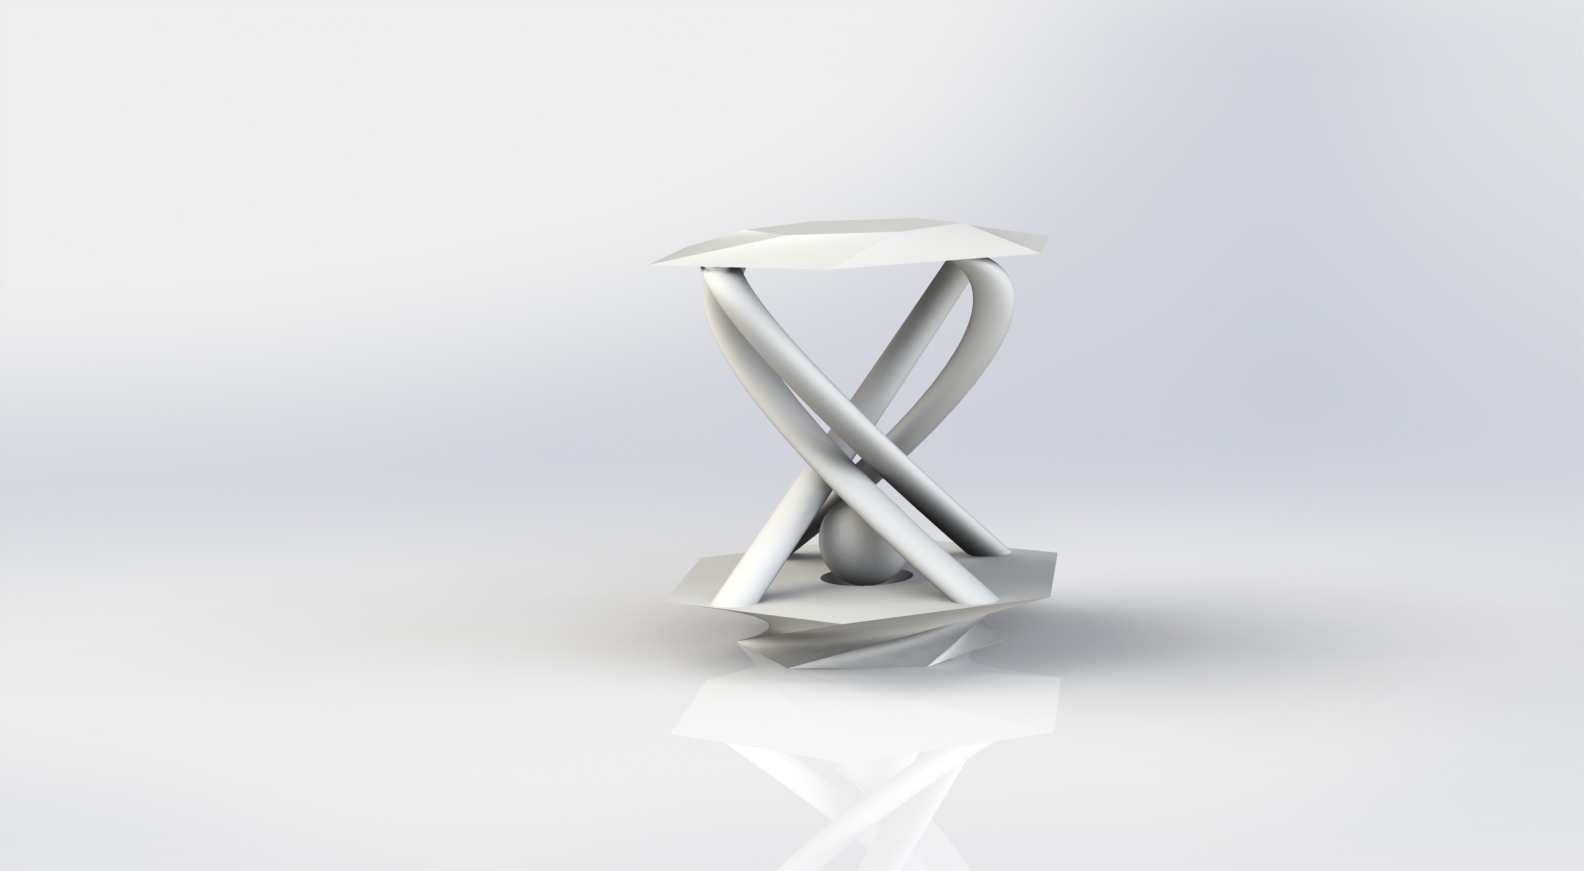
Since I have a pretty good amount of experience with 3D printers and CAD software I decided to make this project tough on the printer. I used Solidworks to quickly design the part above to test the Alaska Fab Lab's Makergear. This object has some pretty steep angles and some a free floating ball in traped in the center so I knew that I would need support material. Click here to download my Solidworks file and try it out on your printer. |
The above design is much more complicated than necessary, it is a very difficult print for most printers and it should be expected that most printers will not be able to print it on the first try. Having said that, many printers are capable of such a print, but much more knowledge of print settings and techniques is required that printing a more simple test print. |
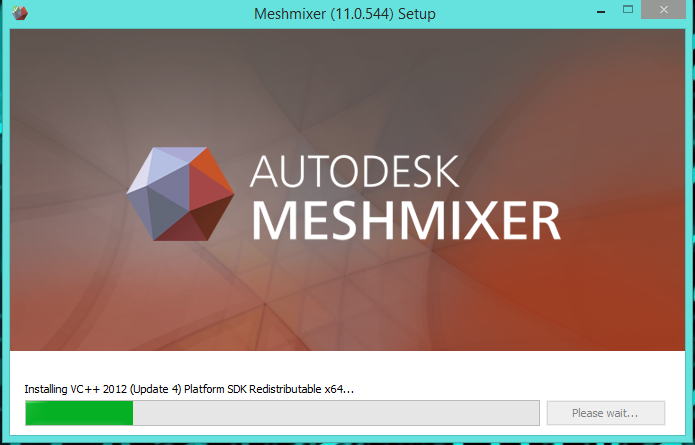
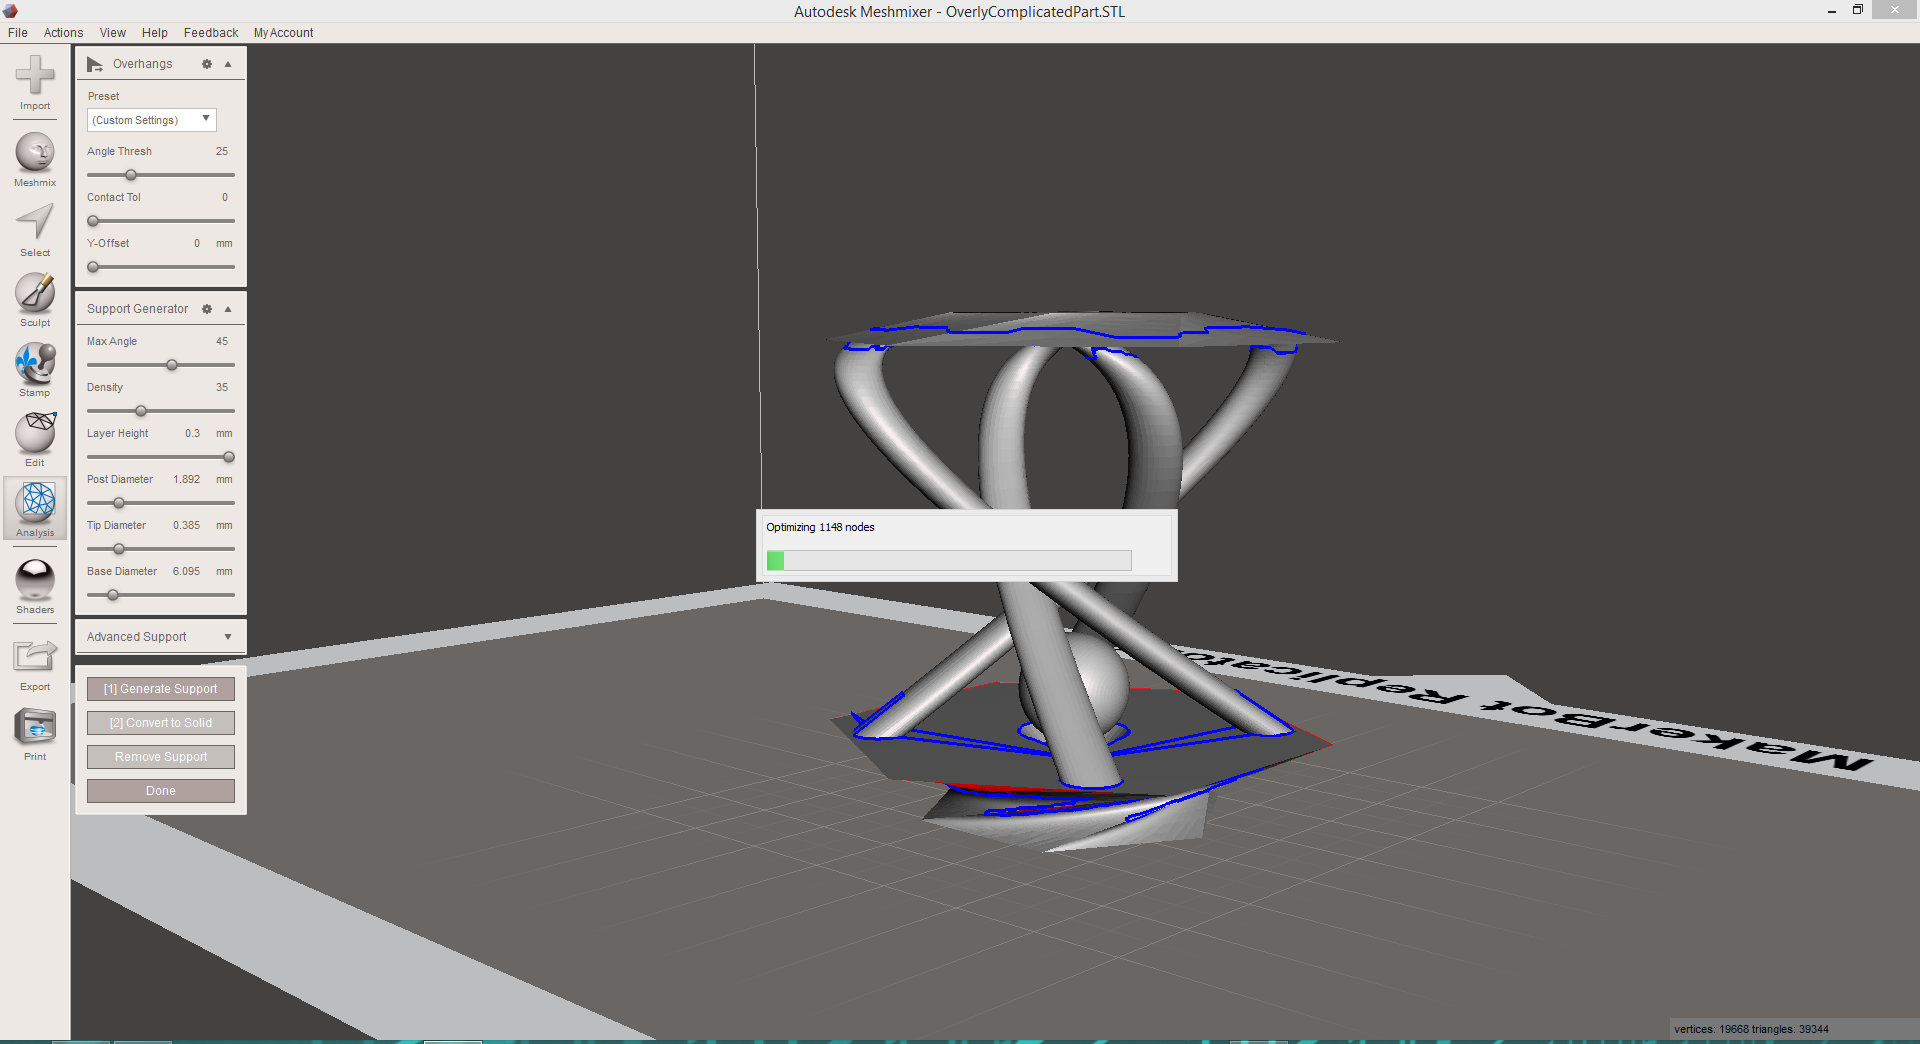
I had heard some good things about Meshmixer and so I decided to download it. It has some structural analysis which is actually pretty good for a free software and will give you a general idea of where you part is weakest. Since I have Solidworks which contains an amazing set of analysis option I was not to excited. What I really wanted to try was the support generation functions. I imported my .stl that I exported from Solidworks and clicked generate support in Meshmixer. Click here to download my model with the support generated in Meshmixer. |
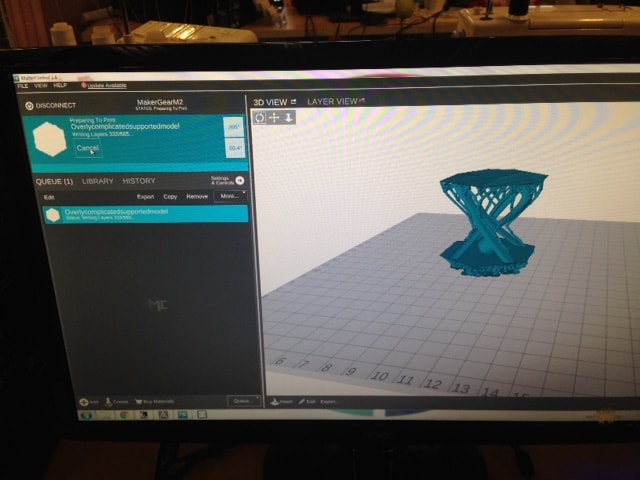
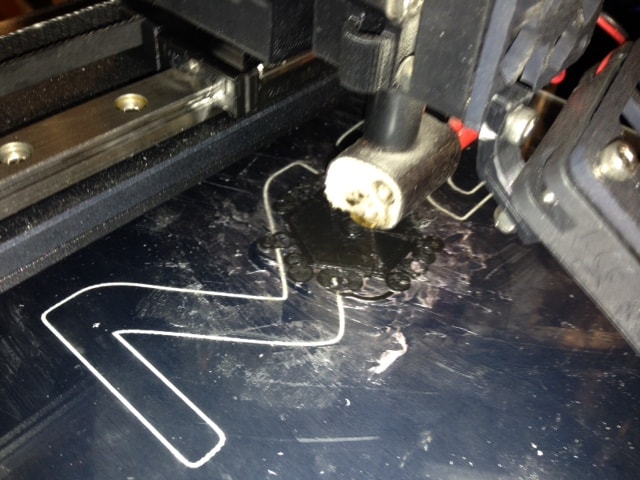
When the support had been generated in Meshmixer I exported the new model as an .stl. I then opened the file in MatterControl, the software we use to run our Makergear, and got the print started. I used the highest accuracty settings in MatterControl and adjusted the external layers to 4, the top and bottom layers to 4, and the infill to 100 percent. When the the print started it missed the first few layers of the support structure, so I stop the print, cleared the print bed, and restarted the print. After two more failed attempts as the support structure on the bottom layer I simply let it continue to print and put down some craft glue to provide a sticky raised area to print and the support structures started taking shape. |
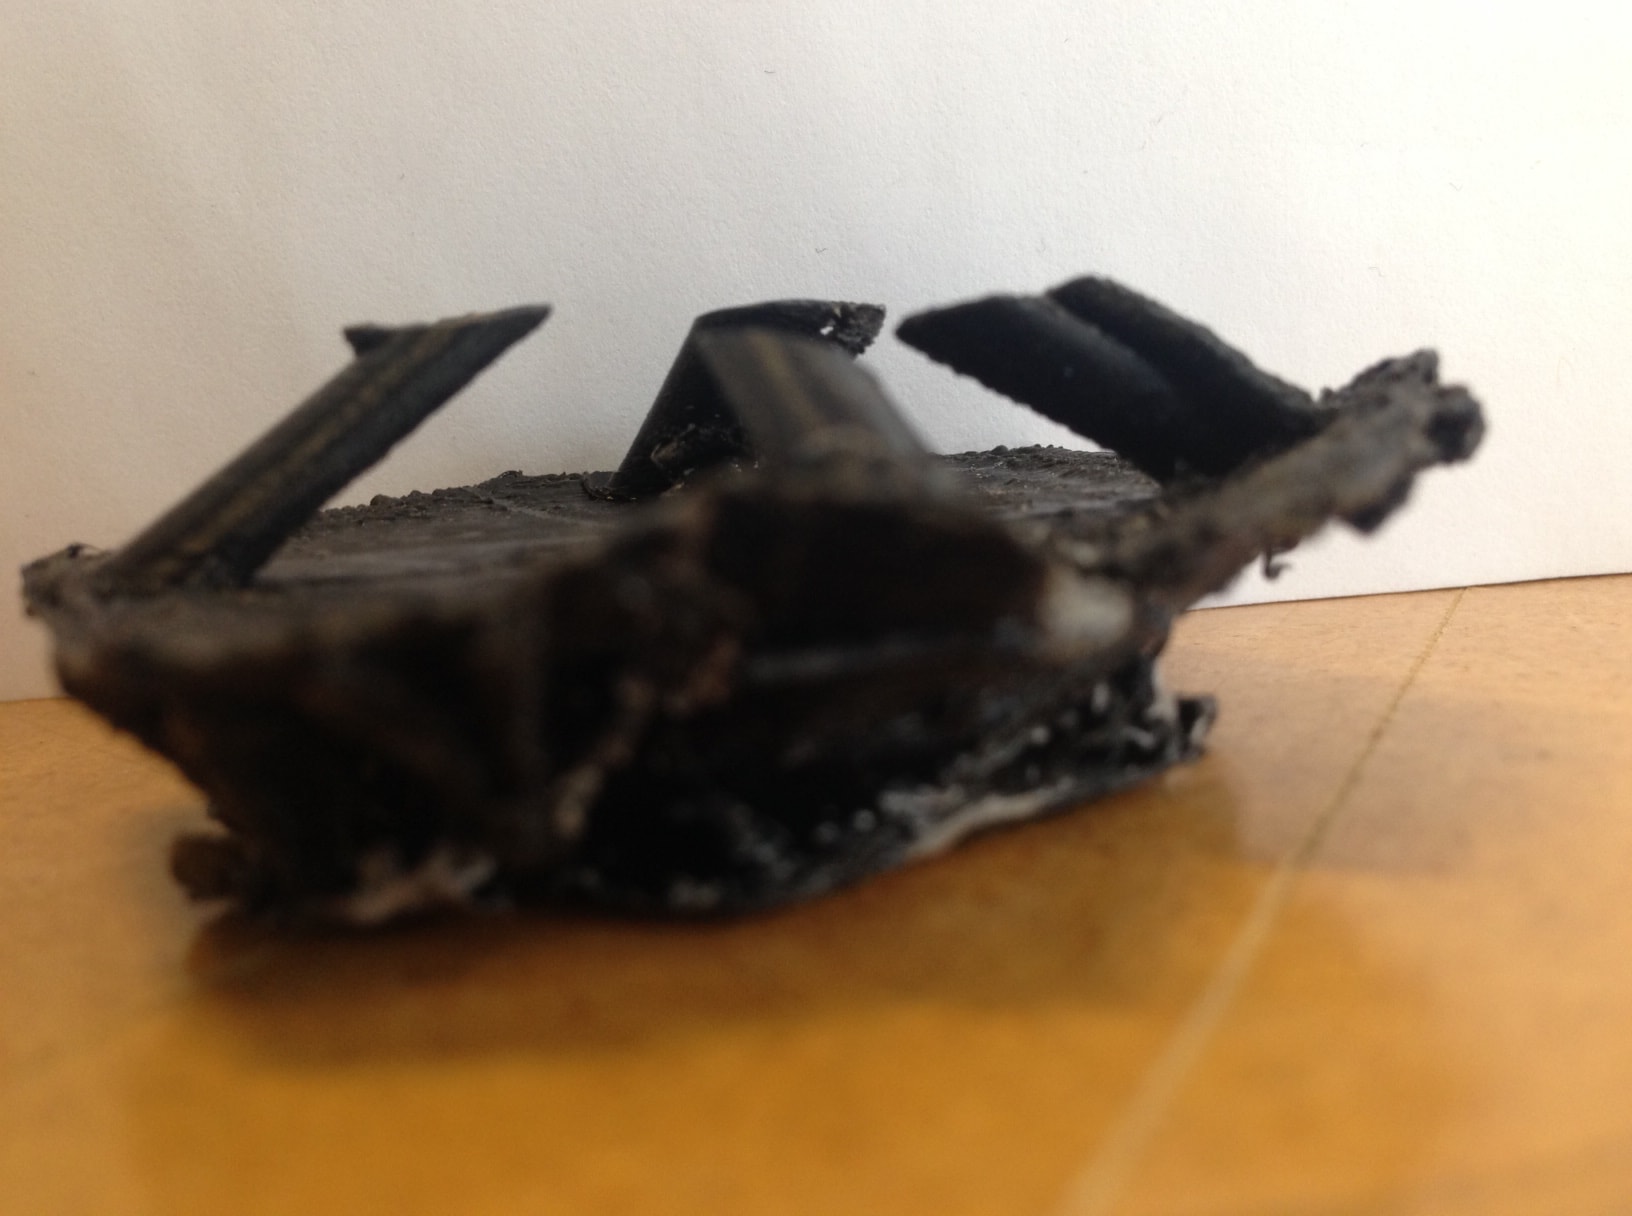
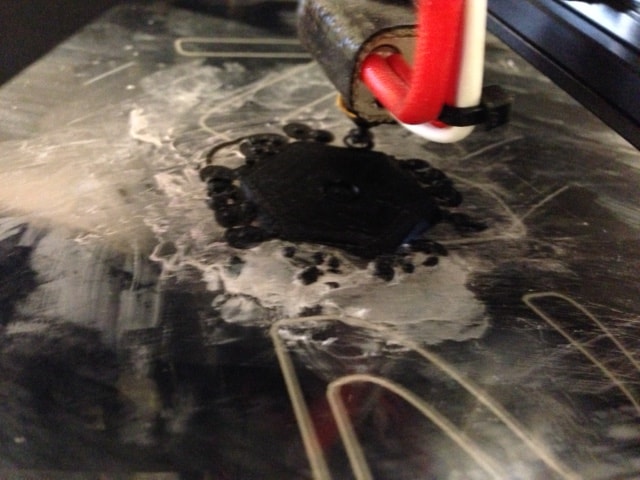
The final result was less than perfect. The print quality was pretty awful even though the printer was set to max quality settings. Ontop of that the model did not finish because the printer stopped half way through the print and never started again. Basically what I learned is that the Makergear might not be up to the task of printing the design I created with the type of support I used. A printer such as a Stratus Systems would be better suited or using more basic grid like support on the Makergear. The support itself that I incorperated using Meshmixer was to complicated for the printer. |
Testing 3d printers can give you alot of insite into the capabilities and appropriate applications of any particular 3d printer. Through the stress testing I found the strength and weaknesses of entry level single filament 3d printers. They are easy to fix and maintain and are for the most part relatively inexpensive, but this comes at a cost. They cannot handle more complexe prints with overhanging geometry, they are not as reliable as their more expensive counterparts, and any support material printed must be manually cut away often leaving imperfections on the surface of the print. This being said, I have come to love single filament printers such as the Ultimaker. This is because of their low cost and functionality, they are a million times better than no printer, and only a little bit worse than printers that cost as much as a new car. Though they may seem harder to use at first these high quality yet affordable 3d printers can do alot for you if you know how to use and maintain them. For bigger projects that require ultra high percision or strength it is also good to have access to a printer like a Stratasys Dimension which print with ABS and a support filament. These much more expensive printers can produce parts such as the ones found here in my final project desk. |